

Blog Post:
Color drenching is redefining bold interiors, but the secret to getting it right is all about setting realistic expectations—and understanding how to balance drama with durability and future resale.
Key Takeaways
- Color drenching can make a room feel striking and cohesive, but unpredictable lighting and maintenance are real risks.
- A systematic approach—testing, lighting, and product selection—reduces regret, cleaning headaches, and resale dips.
- Start small; optimize for both boldness and flexibility, especially if long-term resale value matters to you.
- Why color drenching is surging — and what that really means
- Step-by-step color drenching guide for dramatic, livable spaces
- Advanced analysis & common pitfalls in color drenching
- Conclusion
- FAQ
Why color drenching is surging — and what that really means
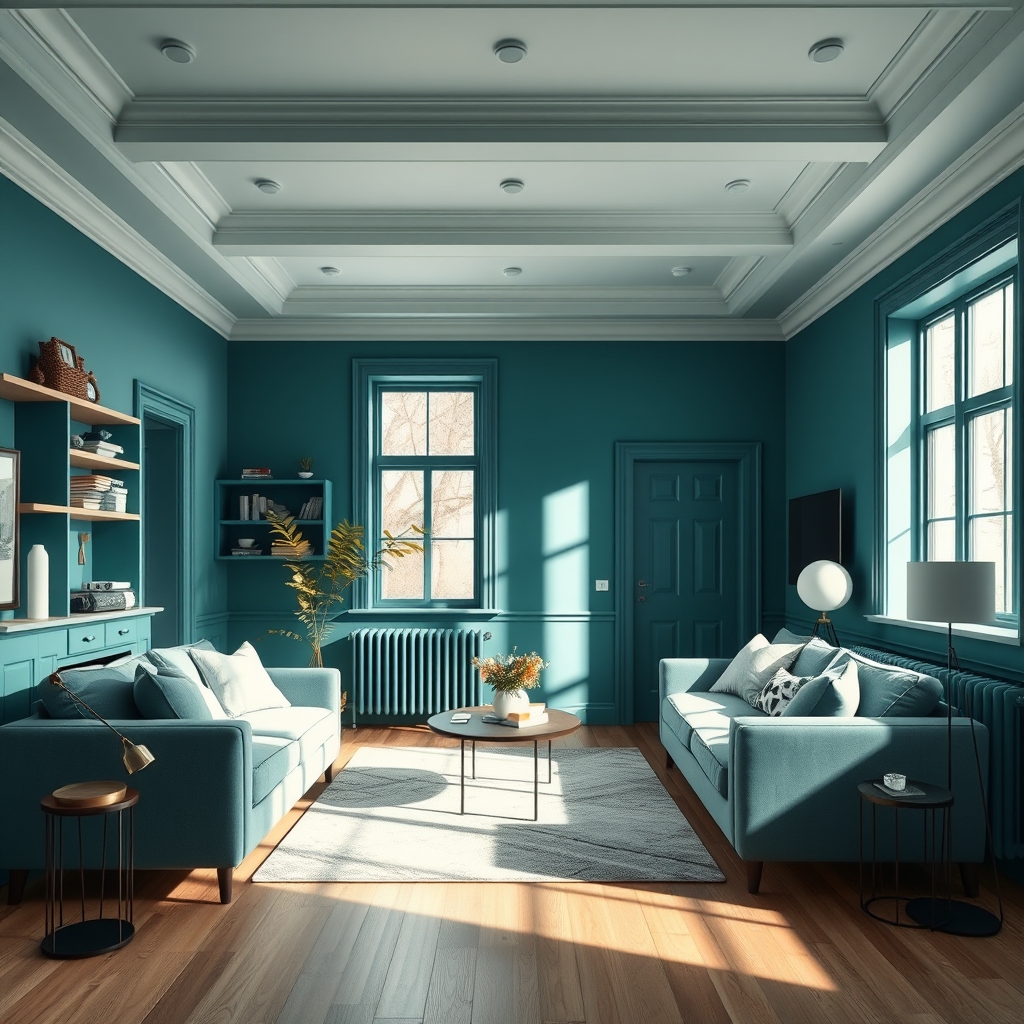
Color drenching means painting or finishing walls, ceilings, trim, and even fixtures in a single hue for a highly immersive effect. This strategy has exploded as “sad beige” and gray phases out of the mainstream—according to industry surveys, about 58% of interior designers saw more color drenching projects in 2023 to 2024 (Fixr Trends Report). The cultural drivers are clear: homeowners want to express personality, escape minimalism, and create mood-driven, Instagram-ready spaces.
But color drenching is not just a visual choice—it transforms how a room feels and lives. Saturated spaces feel cozy or dramatic, but can also feel claustrophobic if the color is too intense or terribly lit. The lifestyle impact goes beyond aesthetics: cleaning, mood, adaptability, and even home value are all affected. Expect easy photo finishes but higher demands for proper light and surfaces built to withstand real-life messes.
Step-by-step color drenching guide for dramatic, livable spaces
Executing color drenching that looks stunning and feels livable depends on the right prep, technical choices, and a disciplined application process. Here’s how to do it—and sidestep the regrets that catch so many by surprise.
1. Self-audit: Is color drenching right for your room?
- Assess function: Powder rooms, home offices, and personal bedrooms are safest; avoid in small, windowless or high-traffic open-plan living zones (designer study).
- Check natural light: North-facing = cool, south-facing = warm hues read best. Spaces with limited light can feel oppressive if drenched in dark tones.
- Consider room size and architecture: Small rooms can feel snug or shrinking, while large rooms can become cavernous. Architectural details (paneling, crown, trim) get highlighted dramatically.
- Gauge your and your family’s tolerance for boldness—and plans for selling. If you intend to list your home soon, stick to “softer” hues or small-scale experiments.
2. Select colors and verify undertones
- Read undertones: Every paint color has subtle undertones (cool, warm, green, blue). Compare against known neutrals and existing finishes (floors, counters, furniture).
- Large-format swatching: Test with at least 24” x 24” color samples across multiple walls, trim, and ceiling. Assess day and night; LED lighting can change how a hue reads—a top regret driver.

3. Nail your lighting plan
- Map natural light during morning, midday, and evening. Document shadows, glare, and dim areas.
- Layer lighting: Combine ambient, task, and accent fixtures. Smart bulbs with tunable white let you adjust warmth and brightness on demand to fix color shift issues (Business Insider).
4. Choose the right finishes and products
- Walls: Use washable eggshell or satin. Avoid all-flat, which stains fast.
- Ceilings: Low-sheen or matte minimizes imperfections.
- Trim: Semi-gloss if you want contrast, or match wall sheen for full effect.
- Pick low-VOC paints. For homes with kids or pets, consider adding a satin or scrubbable sealer.
5. Prep and apply systematically
- Clean, repair, and lightly sand all paintable surfaces. Patch holes and caulk trim.
- Prime if the existing color is dark/marked—or always for woodwork and bare drywall.
- Always cut in ceiling and trim first, then roll out walls. Finish with doors and radiators if being painted to match.
- Let each coat dry per the manufacturer’s guidance; lightly sand between coats for walls that feel smooth and pro-grade.
6. Implement a maintenance plan
- Use gentle cleaners approved for painted surfaces; keep a touch-up kit with your color mix documented for future reference.
- Every 6-12 months: Check for scuffs, chips, or faded zones. Touch up as needed or consider adding a fresh coat to high-wear areas.
For more inspiration, check out our collections of bold wall paint ideas and start with smaller rooms for maximum effect and minimal risk.
Advanced analysis & common pitfalls in color drenching
Even the best-laid plans can fall flat if you miss the details. Here are the issues most often reported by homeowners—and what to do about them.
| Common Pitfall | Root Cause | Mitigation |
|---|---|---|
| Skipping large swatches | Relying only on chips—overlooks undertone and lighting shifts | Always use big, movable samples in actual space across all light phases |
| Using a single flat finish throughout | Flat paint stains/wears quickly, especially in high traffic zones | Mix sheens: eggshell or satin for walls, matte for ceilings, semi-gloss for trim |
| Forgetting architectural details | Blurs moldings, paneling, or doors—misses opportunity for visual depth | Highlight or subtly contrast trim, or use the same color in a different finish |
| Neglecting natural and smart lighting | Room appears dingy or garish at night, regrets ensue | Integrate smart bulbs, dimmers, and tuneable fixtures; map daylight patterns and plan accordingly |
| No maintenance plan | Scuffs, stains, fade, and patchy touch-ups | Schedule cleaning and touch-ups every 6-12 months. Save leftover paint for patches. |
| Overdrenching in resale-sensitive zones | Limits mass-market buyer appeal; risks 5-10% value dip | Use removable elements, document paint choices for easy rollback, pair with neutral furniture |
For a detailed rundown of installation mistakes, see our full color drenching mistakes to avoid guide.
Conclusion
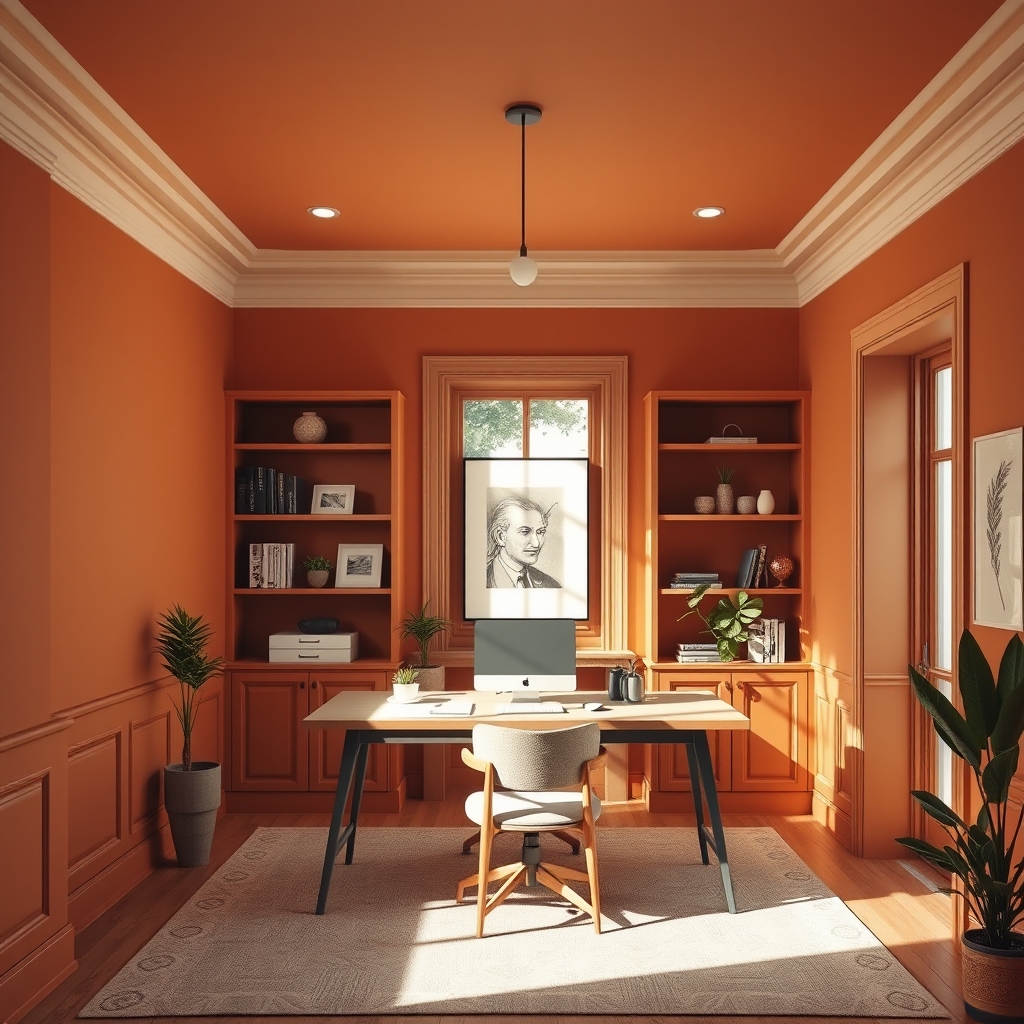
Color drenching is a power move for design lovers, but it’s not a shortcut to a better home: it requires careful color selection, lighting expertise, a solid maintenance plan, and a willingness to pivot if styles (or your own tastes) change. Remember, you can start small—try a powder room, reading nook, or accent wall to build confidence and avoid full-room regret. For maximum payoff with minimal downside, follow the steps above. Bold wall paint ideas are only as good as the prep, planning, and willingness to maintain them.
Need a deeper dive into product recommendations or room-by-room strategies? See our room-by-room bold wall paint ideas guide or check out our prep checklist for bold paint projects.
Ready to transform a space? Start with one accent, then go all-in on color drenching when you’re satisfied. For more inspiration, don’t miss our smart lighting picks and seasonal maintenance plans.
FAQ
Will color drenching lower my home’s value?
It can in some markets—rooms drenched in bold hues may appeal to fewer buyers and could lower perceived value by 5-10% (BAM Trends Report). If resale is a concern, stick to small spaces or reversible treatments, and keep documentation ready to help buyers revert.
How do I keep color-drenched walls looking clean?
Choose low-sheen, scrubbable finishes for walls and trim. Use gentle, paint-safe cleaners and plan touch-ups every 6-12 months. Avoid flat finishes in high-use zones—they show stains fastest.
What should I do if I regret my color drenching choice?
Start with small experiments before a full-room commit. If you regret the color, consider repainting with a new shade or using removable wallpaper over the existing finish. Documentation saves time for rollback.
Can I use smart lighting to fix color regret?
Yes. Smart bulbs with tunable white and adjustable brightness let you “edit” mood, helping warm up too-cool hues or cool down spaces that feel intense at night.
What rooms are safest to try color drenching in?
Powder rooms, home offices, and personal bedrooms are best, especially if you’re new to bold wall paint ideas. Avoid open-plan living spaces or anywhere natural light is minimal.
[…] Be sure to vet vendors for these modern features—they separate yesterday’s sofas from adaptable, inclusive modular seating system options. For more on accessible layout ideas, check out our micro renovations guide or our actionable color drenching methods. […]
[…] concerned your space feels too minimal or cold, revisit our related content on Color Drenching: 7 Amazing Ways to Create Dramatic, Livable Rooms (Proven Guide) and Micro Renovations: 7 Amazing Ways to Boost Home Value (Proven Guide) for effective layering […]